



Yes, you can set up Starlink yourself in Nigeria, and by yourself. A Starlink kit is designed for self-installation and does not necessarily require a professional installer for basic setup. In most cases, you need the Starlink kit, a suitable location with a clear view of the sky, electricity, the Starlink app and an active service plan.
If you have just bought a Starlink and are wondering how to set up Starlink as a novice, how to set up a Starlink device in Nigeria, or how to install Starlink by yourself, this guide walks you through the entire process—from opening the box to getting your phone, laptop or smart TV online.
Quick answer: To set up Starlink, download the Starlink app, use its obstruction-checking tool to find a location with a clear view of the sky, place your Starlink there, connect the cables and power it on, wait for it to connect to satellites, then connect your phone or computer to the Starlink Wi-Fi network and complete the setup in the app.
Starlink’s official guidance confirms that the service is designed for self-installation and requires power and a clear view of the sky.
What Is Starlink?
Starlink is a satellite internet service operated by SpaceX. Instead of connecting your home to the internet through a conventional fibre, cable or terrestrial wireless network, Starlink connects a user terminal to satellites in low Earth orbit.
This makes it particularly useful in parts of Nigeria where fibre internet or reliable mobile broadband is unavailable, inconsistent or difficult to deploy.
Starlink currently offers Residential service in Nigeria, with the official Nigerian website listing Residential plans from ₦57,000 per month at the time of writing. Actual availability, plans, speeds and pricing should be checked against your service address because Starlink says speeds are not guaranteed and may be affected by network congestion.
Can I Set Up Starlink Myself in Nigeria?
Yes.
You do not necessarily need a technician to perform the initial Starlink setup.
Starlink says its kits are designed for self-installation. The basic process involves:
- Finding a location with a clear view of the sky.
- Placing the Starlink terminal in its base or appropriate mount.
- Connecting the supplied cables.
- Connecting the system to power.
- Allowing Starlink to establish a satellite connection.
- Connecting your phone, laptop or other device to Starlink Wi-Fi.
- Using the Starlink app to complete configuration and monitor the connection.
The difficult part is usually not activating the internet. The most important installation decision is where you place the Starlink dish.
What You Need to Set Up Starlink in Nigeria
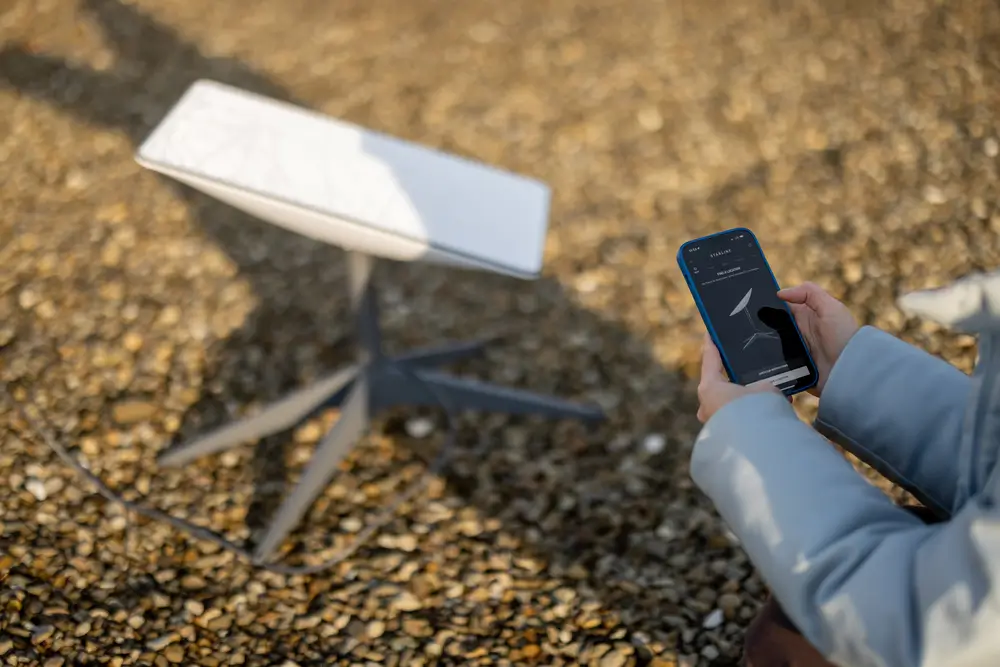
Before starting, make sure you have the following:
- A Starlink kit
- Starlink terminal/dish
- Starlink router or integrated Wi-Fi hardware, depending on your model
- Starlink cables supplied with the kit
- Power supply
- Starlink base, kickstand or appropriate mounting hardware
- A smartphone or tablet
- The Starlink app
- Electricity
- An active Starlink service plan
The exact contents depend on the Starlink model you purchased.
For example, Starlink’s current Mini specifications list the Mini terminal with integrated Wi-Fi, kickstand, Mini Pipe Adapter and Flat Mount, DC power cable, power supply and Starlink plug.
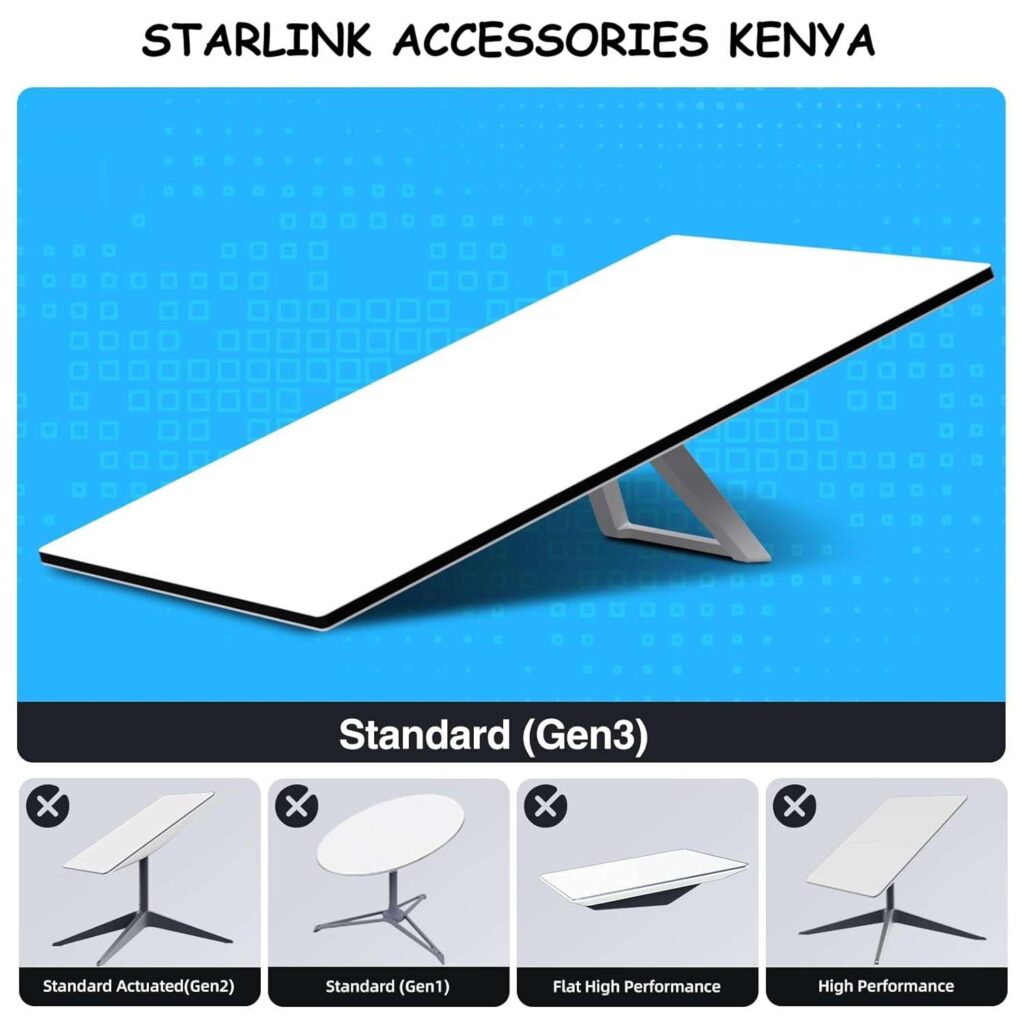
Do not assume that every Starlink kit has exactly the same cables, router or mounting system. Starlink has several generations and models, including Standard, Standard Actuated and Mini.
Step 1: Download the Starlink App
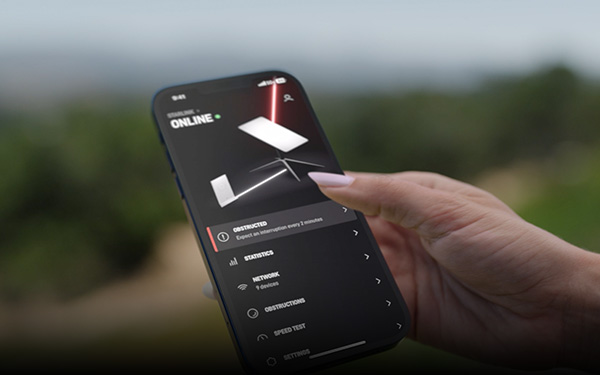
Before physically installing the dish, download the official Starlink app on your smartphone.
The app is useful for:
- Checking for obstructions
- Finding a suitable installation location
- Monitoring your Starlink connection
- Checking alerts
- Managing your router
- Changing your Wi-Fi name and password
- Troubleshooting connection problems
- Monitoring network performance
- Managing certain account and service settings
Starlink specifically recommends using the app’s Check for Obstructions tool before choosing your installation location.
Step 2: Find the Best Place to Install Starlink
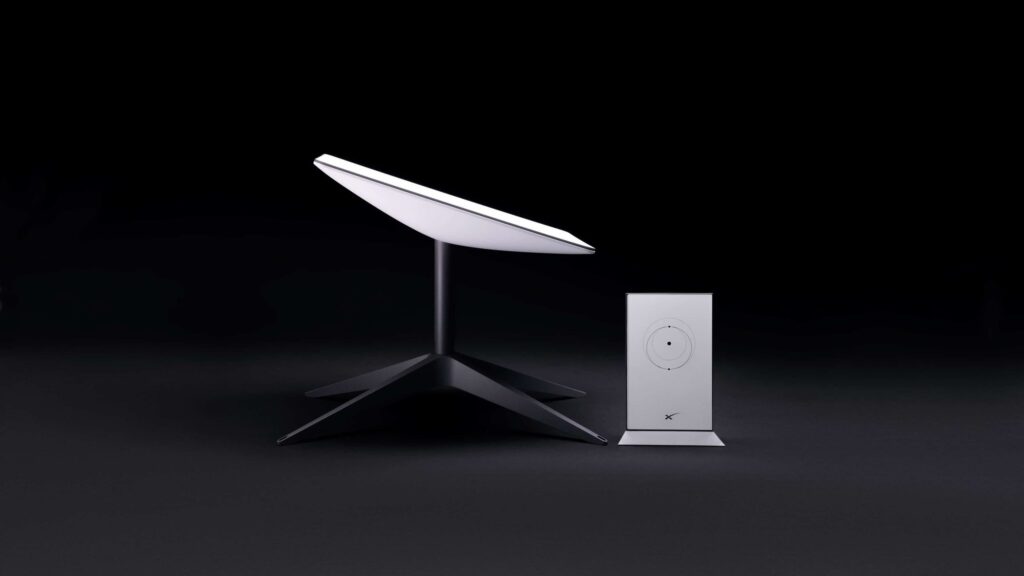
This is the most important part of the installation.
Starlink needs a sufficiently clear view of the sky because its terminal communicates with satellites moving overhead.
Trees, buildings, roofs, poles and other objects can obstruct the connection and cause interruptions. Starlink recommends using the obstruction-checking tool in the app to identify a suitable location.
Where should you put Starlink?
For a basic temporary installation, you can start with the supplied base or stand.
Possible locations include:
- An open area in the compound
- A rooftop
- A balcony, where appropriate
- A pole
- A wall mount
- Another elevated location with a sufficiently clear view of the sky
However, do not put the Starlink terminal somewhere simply because it is high.
A high location with trees or buildings blocking part of the sky may perform worse than a lower location with a much clearer view.
The best way to choose the location
Open the Starlink app and use:
Check for Obstructions
Follow the app’s instructions and scan the proposed installation area.
If the app indicates significant obstructions, try another location.
Step 3: Do Not Permanently Mount the Dish Immediately
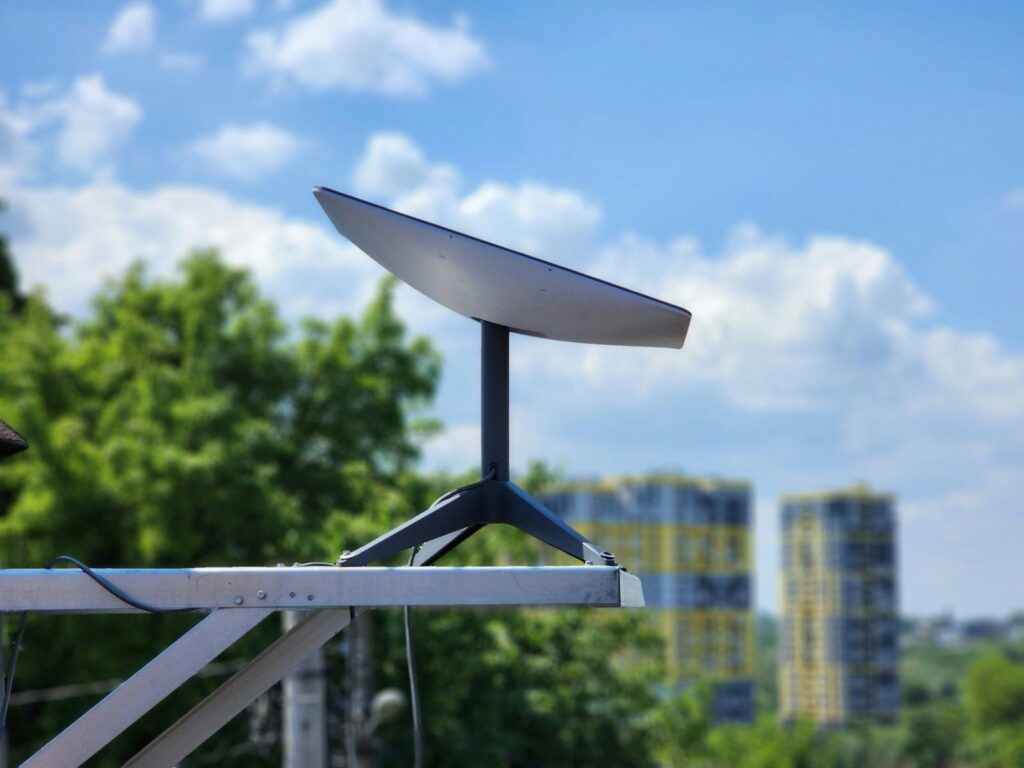
If you are a first-time Starlink user, there is no reason to rush into drilling holes or installing a permanent roof mount.
Start with the supplied base or temporary mounting arrangement.
Get the service working first.
Then monitor the connection and obstruction information.
If the location performs well, you can consider a permanent installation.
Starlink notes that its base is intended for ground-level installation or as a quick-start setup, while permanent mounting may provide a better long-term installation in appropriate circumstances.
Step 4: Connect the Starlink Hardware
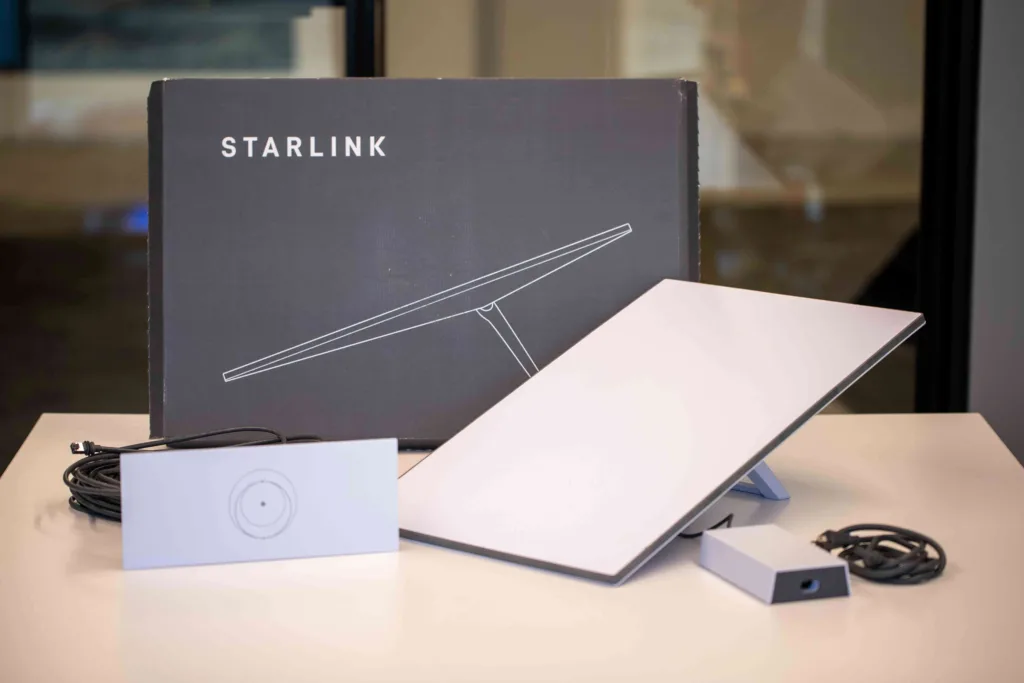
Once you have selected the location, connect the Starlink hardware according to the instructions for your specific kit.
The exact cable arrangement depends on the model.
For a typical setup, you will connect the Starlink terminal to the router or power equipment supplied with the kit and then connect the power supply to electricity.
Do not force connectors.
Make sure:
- Cables are fully inserted.
- Connectors are not damaged.
- Cables are not sharply bent.
- The terminal is securely positioned.
- The power connection is secure.
If your Starlink model uses a different arrangement, follow the installation guide supplied for that model.
Step 5: Turn on Starlink
Now plug the system into power.
Give it time to start.
Starlink says the terminal should connect to satellites within a few minutes under suitable conditions.
What happens next depends partly on the Starlink model.
Some older or actuated Starlink terminals automatically level and adjust themselves while searching for satellites. Starlink specifically warns users not to manually adjust those terminals.
Newer Starlink Standard and Mini models use an alignment tool to help position the terminal correctly.
The important rule is: identify your Starlink model before manually moving or aligning the terminal.
Step 6: Connect Your Phone to Starlink Wi-Fi
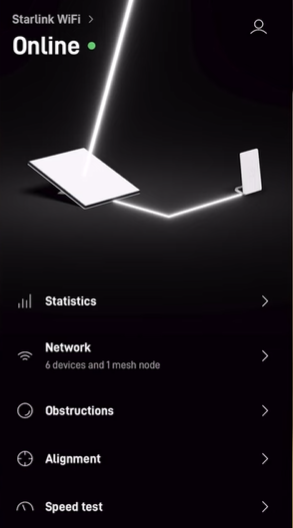
Once Starlink has started broadcasting Wi-Fi:
- Open Wi-Fi settings on your phone.
- Look for the Starlink network.
- Connect to it.
- Open the Starlink app.
- Follow the instructions displayed by the app.
For some Starlink kits, the default Wi-Fi network is named STARLINK.
Starlink recommends changing the default network name and creating a Wi-Fi password to secure your connection.
Step 7: Create Your Starlink Wi-Fi Name and Password
This is an important step that beginners sometimes overlook.
You should not leave your home network unsecured.
Using the Starlink app, go to the router settings and create:
Wi-Fi Network Name: Your preferred network name
Wi-Fi Password: A strong password that other people cannot easily guess.
Starlink’s setup documentation says the default network may not be password protected until you create a password, and recommends securing the network.
After changing the Wi-Fi name and password, reconnect your phone and other devices using the new credentials.
Step 8: Activate Your Starlink Service in Nigeria
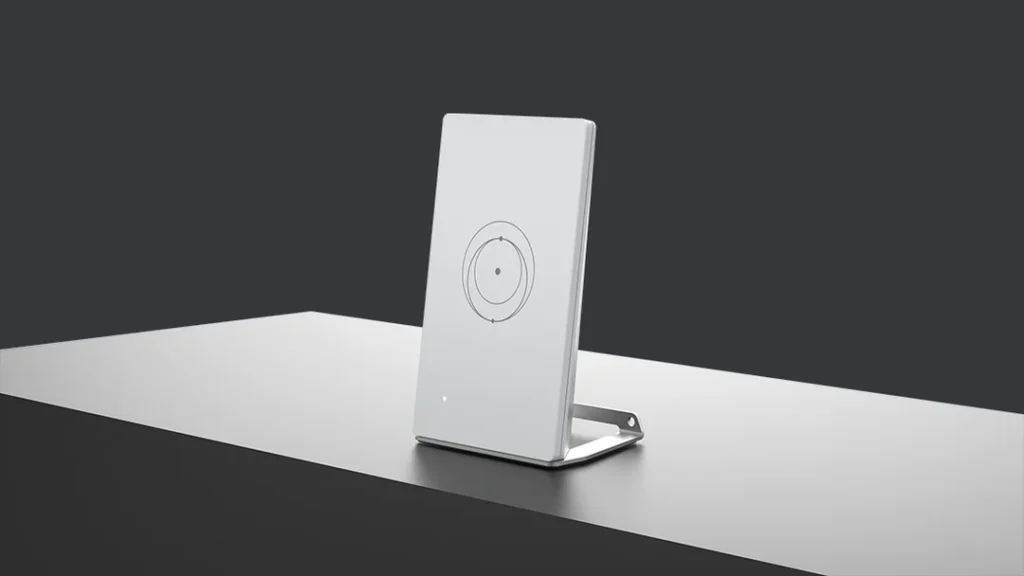
Setting up the hardware and activating your subscription are related but different processes.
If you purchased a new Starlink directly through the official Starlink ordering process, follow the account and service activation instructions associated with your order.
If you purchased a Starlink kit from an authorised retailer, reseller or another third party, Starlink provides an activation process.
The official activation process may require the Starlink Identifier associated with the hardware.
Starlink’s activation documentation says users activating a kit purchased from a retailer or third party can use the activation process at Starlink and select the appropriate account option.
Important for Nigerian users
Make sure your account country and service location are correct.
Starlink warns that activating a Starlink for use in a different country from the country used during account registration may not be supported.
If you are setting up a Starlink in Nigeria, select Nigeria where required and use the correct Nigerian service address.
Step 9: Wait for Starlink to Connect
After powering the system and completing the necessary account setup, give Starlink time to establish a connection.
Your Starlink app should provide information about the connection status.
You may see statuses indicating that the system is:
- Booting
- Searching
- Connecting
- Online
- Offline
Starlink recommends checking the app for alerts if you cannot get online.
Step 10: Test Your Internet Connection
Once the Starlink app shows that you are connected, test the connection.
Try:
- Opening a website
- Watching a YouTube video
- Running a video call
- Downloading a file
- Testing your connection speed
You can also use the Starlink app to monitor your connection.
Do not judge the entire service based on a single speed test.
Starlink states that advertised speeds are maximum available speeds rather than guaranteed speeds, and performance can vary, including during periods of network congestion.
How to Set Up Starlink as a Complete Beginner
If you have never installed satellite internet before, don’t overcomplicate it.
Think of Starlink as five basic actions:
1. Download the app.
2. Find an unobstructed view of the sky.
3. Put the Starlink terminal in position.
4. Plug everything into power.
5. Connect your phone to Starlink Wi-Fi.
Starlink itself summarizes the basic process as “Plug it in. Point at sky.”
The app then helps you with the remaining configuration.
How to Set Up Starlink Without a Technician
For a normal home setup, you can perform the initial installation yourself.
You generally do not need specialist networking knowledge simply to get Starlink online.
However, there is a difference between self-setup and professional installation.
You may want a professional installer if:
- The dish needs to go on a high roof.
- You need a permanent pole mount.
- The cable needs to pass through walls.
- You need waterproof cable routing.
- You want multiple access points.
- You are connecting Starlink to an existing business network.
- You need structured Ethernet cabling.
- Your building has difficult roof access.
- You need a backup power system.
- You need Starlink integrated with CCTV, servers or enterprise networking equipment.
In other words, you can set up Starlink yourself, but you should not take unnecessary risks with rooftop or electrical work.
How to Set Up Starlink on a Roof
A roof installation can provide a better view of the sky, particularly when trees and neighbouring buildings obstruct the ground-level installation.
But roof installation requires more than simply placing the dish on the roof.
Consider:
1. Mounting
Use a suitable mount designed for your Starlink model and installation surface.
2. Wind
The terminal and mount should be securely fixed.
3. Cable routing
Do not leave cables loosely exposed where they can be damaged.
4. Water ingress
Cable entry points should be properly protected.
5. Lightning and electrical safety
Follow appropriate electrical and building-safety practices for your installation.
6. Maintenance
Make sure the installation can be safely inspected if necessary.
If you cannot safely access your roof, hire a qualified installer rather than attempting the installation yourself.
Does Starlink Need to Face North in Nigeria?
This is an area where many online Starlink guides can become misleading.
Do not simply point every Starlink dish north because you are in Nigeria.
The required orientation depends on the Starlink model and the instructions provided by the Starlink app.
Older/actuated Starlink hardware can automatically orient itself, while Starlink’s current Standard and Mini setup instructions use an alignment tool.
Therefore, the safest approach is:
Use the Starlink app and the setup instructions for your exact Starlink model rather than relying on a fixed compass direction.
How Long Does Starlink Take to Set Up?
The physical setup can be completed quickly once you have selected a suitable location.
Starlink describes its system as capable of getting users online in minutes, provided the equipment has power and a clear view of the sky.
However, your total installation time can be longer if you are:
- Installing on a roof
- Installing a permanent mount
- Running cables through a building
- Configuring a third-party router
- Setting up mesh Wi-Fi
- Troubleshooting obstructions
- Waiting for software updates
Why Is My Starlink Not Connecting?
If your Starlink does not come online, don’t immediately assume the equipment is faulty.
Check the following.
1. Check for Obstructions
Open the Starlink app and check the obstruction information.
Trees, buildings and other objects can cause service interruptions.
2. Check the Cables
Make sure every cable is fully connected and undamaged.
3. Check Power
Make sure the router and Starlink terminal are receiving power.
4. Check the Starlink App
Look for alerts or error messages.
5. Restart the System
Power-cycle the equipment by disconnecting it from power and reconnecting it.
Starlink’s current installation guidance also recommends checking the app, cables, router status and power when troubleshooting.
6. Check for an Outage
If your equipment appears normal but the service remains unavailable, check the Starlink app and support resources for an outage or service issue.
What Does a Red Light on the Starlink Router Mean?
The meaning depends on your specific Starlink router.
For the current Standard installation guide, Starlink indicates that a red router light means the router is not connected to the internet. The same guide recommends checking cables and power, power-cycling the router and, if necessary, performing a factory reset before contacting support.
Do not assume that every Starlink model uses exactly the same lights or indicators.
Can I Use My Own Router With Starlink?
Yes, depending on your Starlink hardware.
Starlink supports the use of third-party routers with compatible kits.
The exact connection method depends on your Starlink model.
For example, Starlink states that the Standard Actuated setup may require an Ethernet Adapter, while the Starlink Standard has Ethernet built into its power supply.
If you use your own router, you may also need to configure Starlink’s router in bypass mode, depending on the setup.
This is more advanced than the normal beginner installation, so if you simply want to get online, start with the Starlink router supplied with your kit.
Can I Use Starlink With a Wi-Fi Mesh System?
Yes.
A mesh network can be useful when you want Starlink Wi-Fi coverage throughout a large house, office or compound.
Starlink provides both wireless and wired mesh options for compatible hardware.
For example, Starlink’s Router Mini documentation recommends placing mesh routers appropriately and notes that a wired connection can provide better performance.
For a beginner, however, the recommended approach is:
Get Starlink working first. Add mesh Wi-Fi later.
How to Get Better Starlink Performance in Nigeria
Getting Starlink online is only the first step.
To get the best possible experience:
Keep the sky view clear
This is one of the biggest factors affecting Starlink reliability.
Avoid unnecessary obstructions
Trees and buildings can interrupt the satellite connection.
Place the router properly
Do not hide your router inside a metal cabinet or behind multiple thick walls.
Consider Ethernet for demanding devices
For devices such as desktop computers, gaming consoles, CCTV systems or business equipment, a wired connection can provide a more stable local network connection.
Use a mesh system for large buildings
If one router cannot cover the entire property, consider a compatible mesh solution.
Keep the equipment powered
Starlink requires electricity, so users in Nigeria should also consider their local power situation.
How to Use Starlink During Power Outages in Nigeria
Starlink itself does not eliminate the need for electricity.
If your electricity goes out, the Starlink terminal and router also lose power unless you have backup power.
Depending on your requirements, you can consider:
- UPS systems
- Inverters
- Solar power
- Battery systems
- Generator backup
For a home user, the appropriate backup system depends on the Starlink hardware, router configuration and the amount of time you want the service to remain online.
Before buying a backup system, determine the actual power requirements of your Starlink equipment.
Can Starlink Work During Rain?
Starlink is designed to operate in weather conditions and is engineered to withstand elements including heavy rain. However, severe weather can still affect satellite communications.
Starlink describes its service as weather resilient, but users should not interpret this as a guarantee of uninterrupted connectivity under every weather condition.
A properly installed terminal, good sky visibility and reliable power remain important.
How Much Does Starlink Cost in Nigeria?
Starlink pricing changes, so always check the official Nigerian Starlink website before making a purchase.
At the time this guide was updated, Starlink’s Nigerian website listed Residential service from ₦57,000 per month.
Hardware costs are separate from the monthly subscription and may vary according to the kit and current promotions.
Starlink also offers different service categories, including Residential, Roam and Business.
For example, Starlink’s Nigerian Business page currently lists Business service from ₦226,000 per month and hardware from ₦590,000, although users should verify the current price for their exact service address before ordering.
Starlink Residential vs Business: Which Should You Choose?
For a normal home, Residential is generally the appropriate starting point.
Residential is designed for customers using Starlink at one location.
Business service is aimed at organisations that need business-oriented connectivity and features such as prioritised service and additional networking capabilities.
If you are installing Starlink for:
- A family home
- Personal browsing
- Streaming
- Remote work
- Online classes
- Normal home use
Residential is the logical place to start.
If you are deploying Starlink for an organisation, multiple sites or business-critical connectivity, investigate the Business options.
Frequently Asked Questions About Setting Up Starlink in Nigeria
Can I install Starlink myself?
Yes. Starlink says its kits are designed for self-installation. You need power and a clear view of the sky.
How do I set up Starlink for the first time?
Download the Starlink app, find a location with a clear view of the sky, place the terminal, connect the hardware to power, wait for satellite connectivity and connect your device to the Starlink Wi-Fi network.
Do I need a technician to install Starlink?
Not for basic self-installation. You may want a professional for roof mounting, permanent installations, complex cable routing or advanced networking.
How do I activate Starlink in Nigeria?
If you purchased the hardware from an authorised retailer, reseller or third party, use Starlink’s activation process and provide the required Starlink identifier. Make sure the account and service country are correctly configured.
Does Starlink need a clear view of the sky?
Yes. Obstructions can interfere with the connection and cause interruptions. Starlink recommends using its app to check for obstructions before selecting an installation location.
Can I put Starlink on the ground?
For initial testing, the supplied Starlink base can be used where appropriate. For a permanent installation, you may need a suitable mount depending on your location and environment.
Can Starlink work without Wi-Fi?
The Starlink terminal connects to the satellite network, while the router provides your local network connection. You can also use compatible Ethernet configurations and third-party networking equipment depending on the Starlink model.
Can I use Starlink with my existing router?
Yes, compatible Starlink systems can be connected to third-party routers using Ethernet. The exact method depends on your Starlink model.
Why is my Starlink slow?
Possible causes include network congestion, obstructions, Wi-Fi limitations, local network problems or other environmental and equipment factors. Starlink states that advertised speeds are not guaranteed and may be slower during congestion.
Does Starlink require a SIM card?
No. Starlink does not operate like a conventional mobile broadband modem that requires a SIM card. Your Starlink terminal communicates with the Starlink satellite network.
Can Starlink work in rural Nigeria?
Yes, where Starlink service is available at the relevant service address. Its satellite-based architecture makes it particularly useful for locations where terrestrial connectivity options are limited. Always check the official availability map for the exact address.
How many devices can I connect to Starlink?
The practical number depends on your Starlink model, router, network configuration and how heavily the connected devices use the internet. A household with phones, laptops, TVs and other normal devices can use Starlink, while larger deployments may require additional networking equipment.
Starlink Setup Checklist for Beginners
Before declaring your installation complete, check:
- Starlink app installed
- Service address confirmed
- Starlink account activated
- Clear view of the sky confirmed
- Terminal correctly positioned
- Cables securely connected
- Power connected
- Starlink connected to satellites
- Phone connected to Starlink Wi-Fi
- Wi-Fi name changed
- Wi-Fi password created
- Internet connection tested
- Starlink app checked for obstructions or alerts
- Permanent mounting considered if necessary
- Backup power considered if electricity is unreliable
Final Word: Setting Up Starlink Yourself Is Easier Than You Think
For most Nigerian home users, setting up Starlink by yourself is straightforward.
You do not need to be a networking expert to get started.
The most important things to remember are:
Find a clear view of the sky.
Use the Starlink app.
Connect the equipment correctly.
Give the terminal time to establish its satellite connection.
Secure your Wi-Fi network.
Check the app if something goes wrong.
The biggest mistake beginners make is treating Starlink like an ordinary Wi-Fi router. The router can be placed almost anywhere within reason, but the Starlink terminal needs a suitable view of the sky.
If you are only getting started, don’t immediately spend money on complicated mounts, mesh systems or networking equipment. First get the Starlink kit working in a suitable temporary location. Once you understand the connection and confirm the best installation point, you can upgrade to a permanent installation.
For current Nigerian pricing, availability and service options, check Starlink’s official Nigeria website and availability map before ordering.

Tech Desk at WIRED.Africa reports on cybersecurity, platform security, AI systems, and technical analysis of digital infrastructure shaping Africa and global tech.


1 comment